Learn the traditional craft of hand-dipping candles using beeswax or paraffin, creating tapered candles through repeated dipping.
Hand-dipping candles is one of those crafts that sounds old-fashioned until you try it—then you understand why people did this for centuries. There's a rhythm to it: dip, lift, wait for the wax to cool just enough, dip again. Each pass adds a thin layer that builds into a smooth, tapered candle. The wax feels slippery-warm on your fingers if you get careless, and the smell of melted beeswax fills the room with that honey-sweet scent that makes you want to keep going.
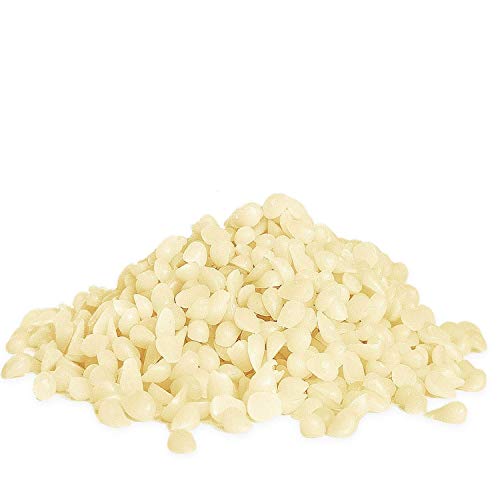
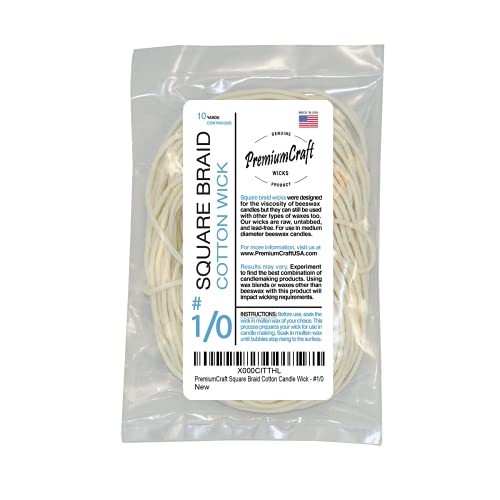
You'll need a tall container for melted wax (a large tin can works perfectly), a heat source to maintain temperature, and cotton wicking. The key is keeping your wax between 150-165°F—too hot and it slides right off, too cool and it clumps. Your first few candles might come out lumpy or uneven, but by the fifth dip cycle, your hands find the timing. Beeswax gives you natural color and scent; paraffin is cheaper and takes color dyes well if you want bold hues.
The waiting between dips is the hardest part—resist the urge to rush. Let each layer firm up for 30-60 seconds before the next plunge. After 20-30 dips, you'll have candles thick enough to trim and use. They burn slower than store-bought ones, and there's something satisfying about lighting something you built layer by layer with your own hands.
Why This Quest Matters
You'll hold a candle you built layer by layer, watching each dip add thickness in a rhythm that's genuinely meditative. These burn slower than anything store-bought, and lighting one means seeing 30 careful dips pay off in steady, even flame. By the fifth cycle, your hands will know the timing without thinking—that's when it clicks.